In this tutorial, we are going to discuss one of the unique and most powerful features of WP Shortcode Pro.
That feature is Creating your own shortcodes.
Yes, you read that right. Not only does WP Shortcode Pro give you the ability to use a variety of shortcodes, but you can also create your own shortcode.
You might think, but why do I need to create my own shortcode? Well, there can be a few reasons.
- To create a shortcode with features not present in WP Shortcode Pro
- To make a complex task easy by creating a shortcode
- To create a shortcode that eliminates a repeated task
and many more.
Depending on how deep you go into your posts to style it, you might think that it’s overkill to create your own shortcodes, and you might be right.
As a plugin developer, we have to think about all kinds of customers, which include the general users and the power users. That is why we have created WP Shortcode Pro to be as simple as possible. But on the other hand, we also allow users to go deep and get their hands dirty by creating their own shortcodes.
Whether you are a regular user or a power user, you can benefit from learning the possibilities. Even if you don’t use the features today, you will benefit by simply knowing that it’s possible.
Let us begin.
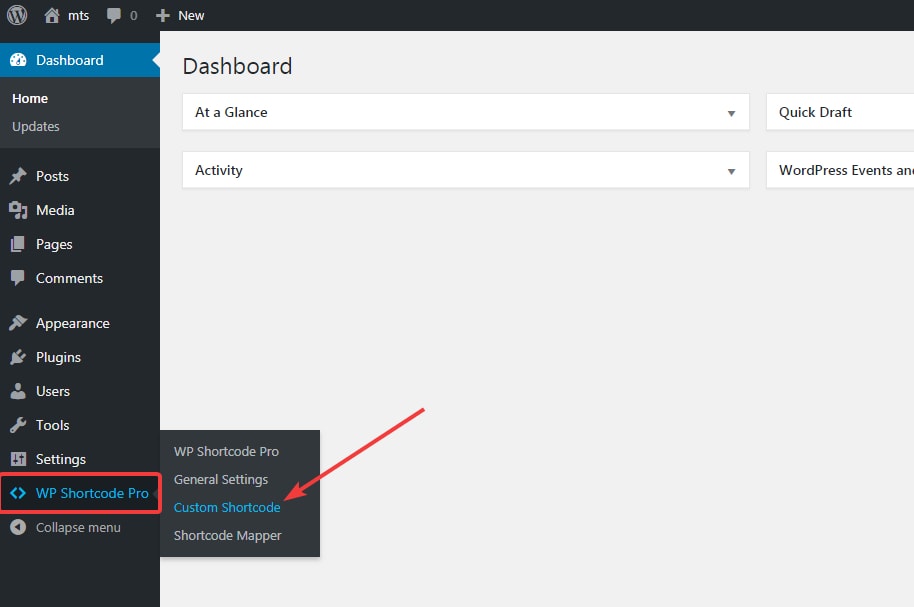
To use the feature, navigate to WP Shortcode Pro, hover over it, and click on ‘Custom Shortcode’.
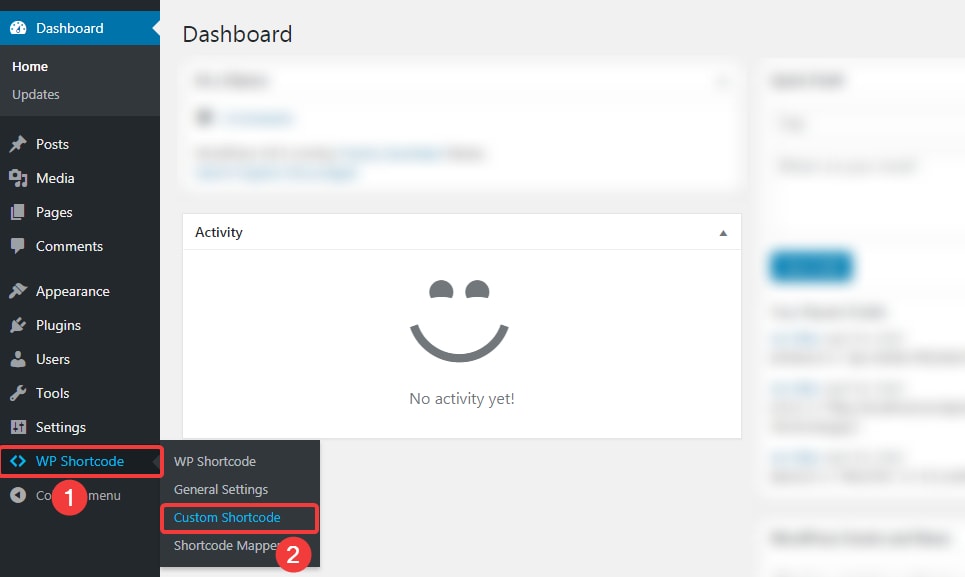
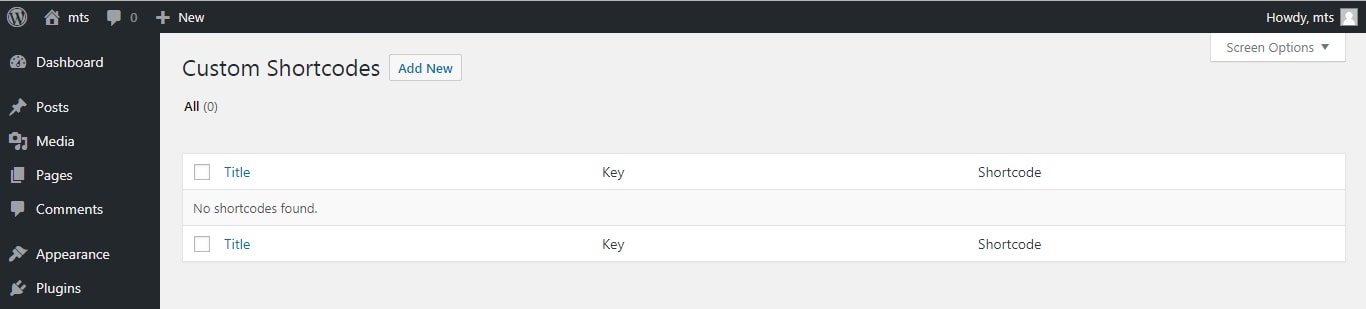
This is how the screen will appear.
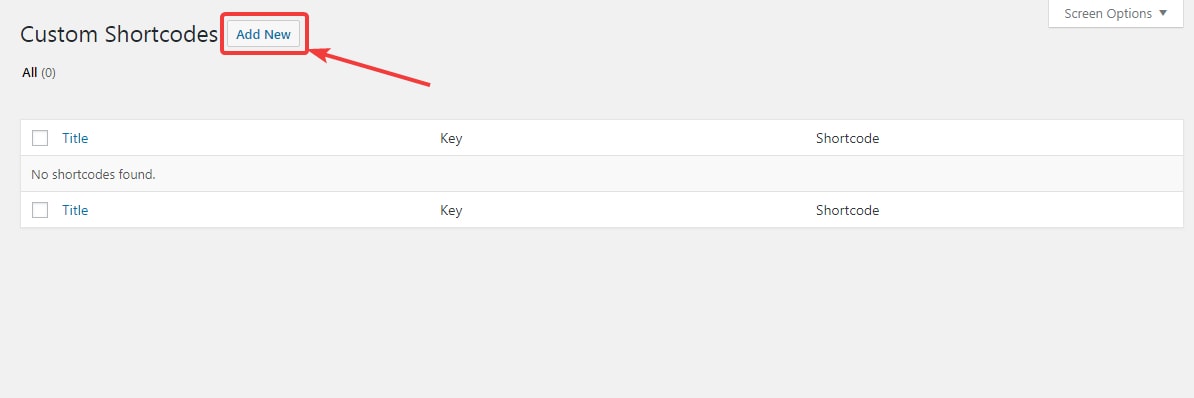
Click on the ‘Add New’ button to create a new custom shortcode.
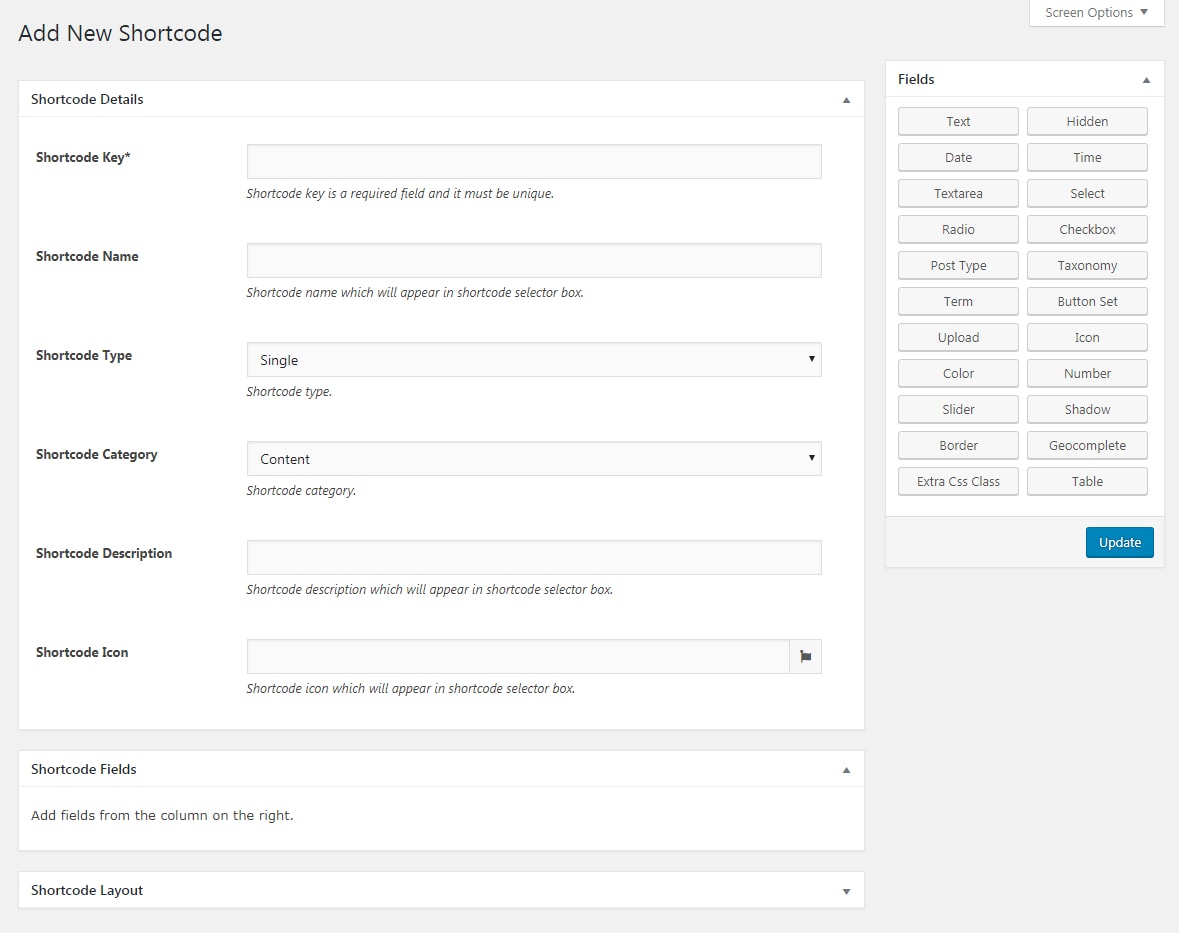
You will reach the following screen.
Before we begin, let us give you some context about the shortcode creator.
The closest analogy that we can think of is to compare the shortcode creator with Lego. You can think of the shortcode creator as an endless supply of Lego pieces.
When you put the pieces together, you can create just about anything. The only limitations are your creativity and skills.
Now that you understand how the shortcode creator works, let us get into some detail.
If you noticed, there are 4 distinct sections in the shortcode creator settings.

Each section serves a different purpose, so let us understand each of the settings in detail. Let us start with the Shortcode Details section.
Shortcode Details
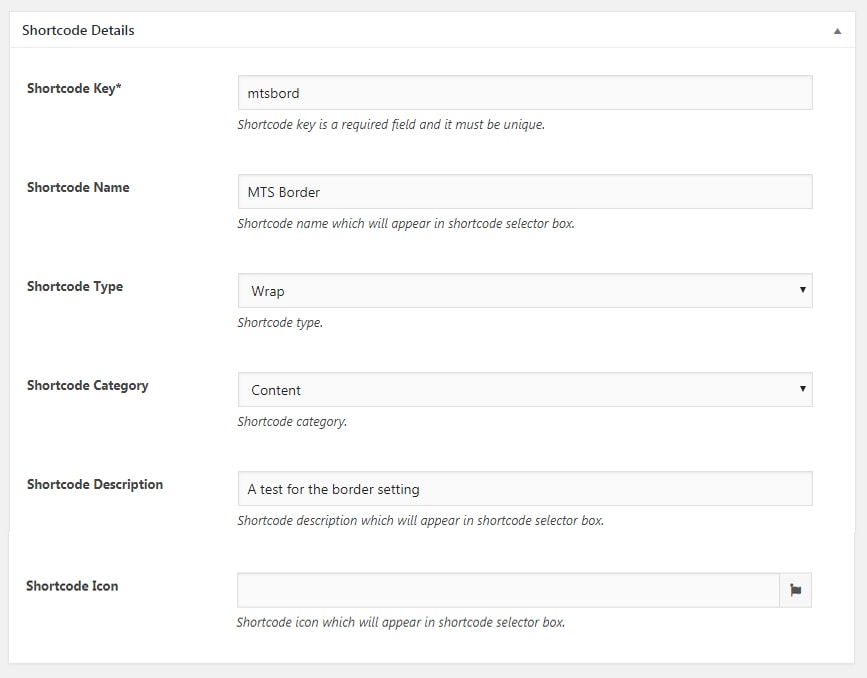
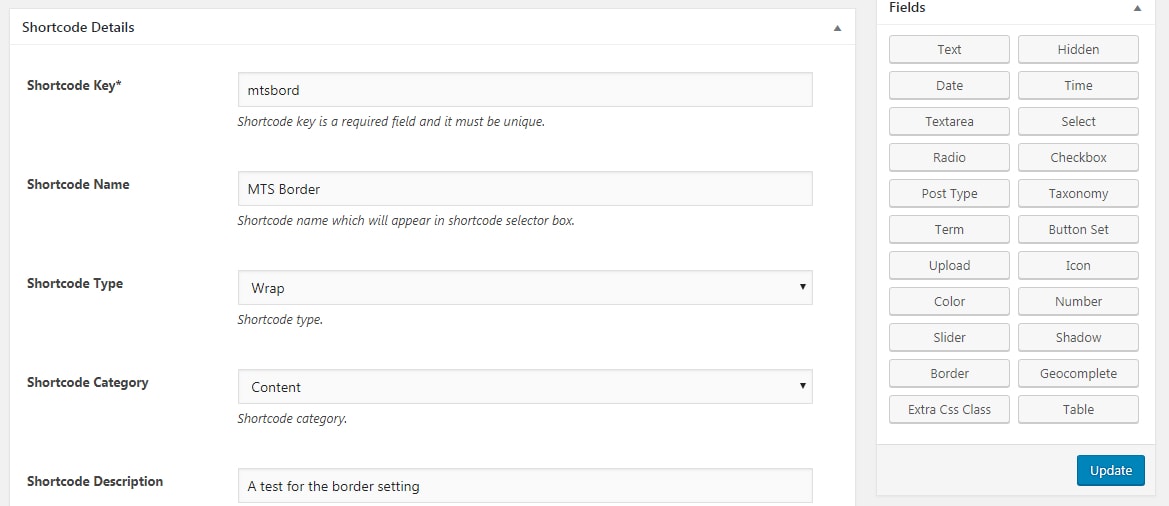
The shortcode details section helps you define the properties of the shortcode. Let us understand each of the sections.
The shortcode key is a unique identifier that helps identify a particular shortcode. This is not displayed on your website and is only used internally.

The shortcode name is the actual display name of the shortcode which will be visible inside WP Shortcode Pro.

The shortcode type defines if the shortcode works on its own (single), or wraps around some content and modifies it (wrap).

The shortcode category defines which category of WP Shortcode Pro will this shortcode show up in.

The shortcode description defines the text that describes the actions of the shortcode.

The shortcode icon setting defines the icon which the shortcode will use. You can choose from hundreds of built-in icons to make your shortcode stand out.
![]()
That finishes the shortcode details section. Let us begin by understanding the Shortcode Fields section.
Shortcode Fields
The shortcode fields section is just a container for the functionality you add to it through the Fields section.
Fields Section
The fields section is where all the magic happens. These are the pieces of Lego that you put together to create what you like. Each of the mentioned fields adds a certain type of functionality to the shortcode, and you can pick and choose which ones you want.
In total, the fields section offers you 22 functionalities to choose from. The following image showcases them all.
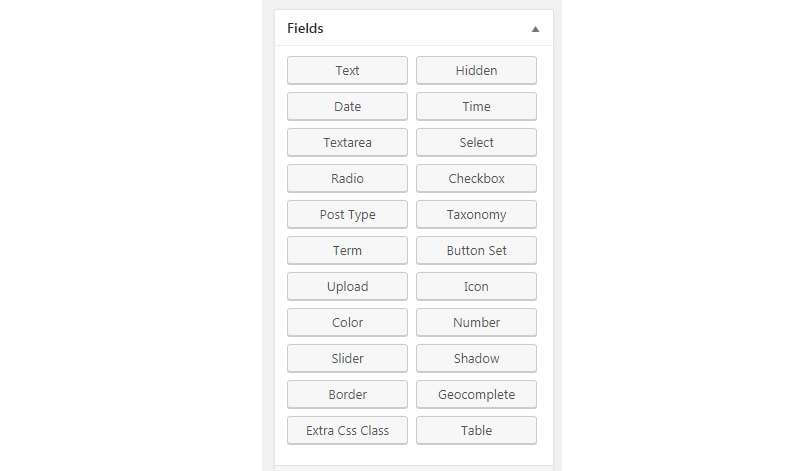
For people who prefer text, here is the entire list:
- Text
- Hidden
- Date
- Time
- Textarea
- Select
- Radio
- Checkbox
- Post Type
- Taxonomy
- Term
- Button Set
- Upload
- Icon
- Color
- Number
- Slider
- Shadow
- Border
- Geocomplete
- Extra CSS Class
- Table
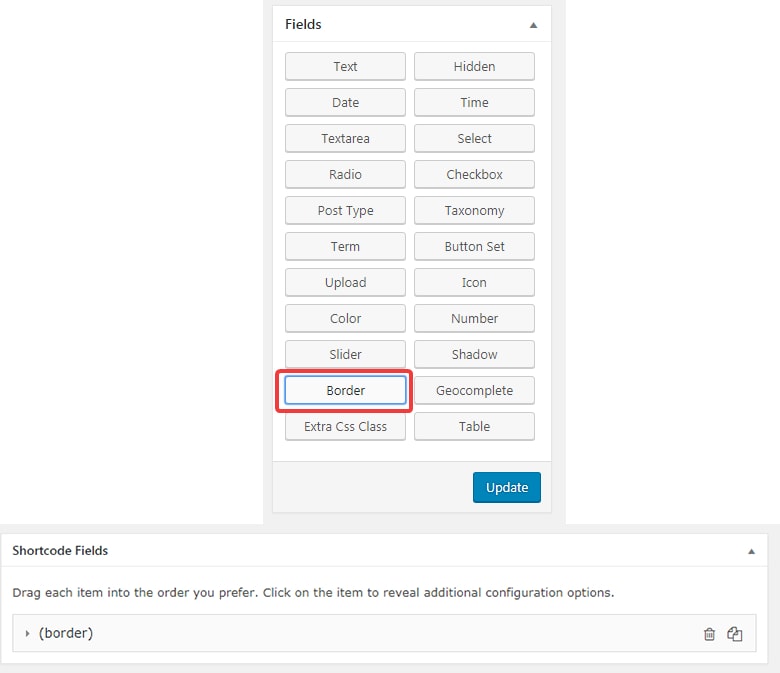
Each field that you click here gets added to the shortcode field and becomes configurable in the created shortcode. You can choose any number of fields to add to the shortcode.
Once you add all the fields, you then configure how the fields will affect the output of the shortcode by writing basic HTML code. Let us do a demonstration
For this demo, we clicked and imported the border field into the shortcode fields menu.
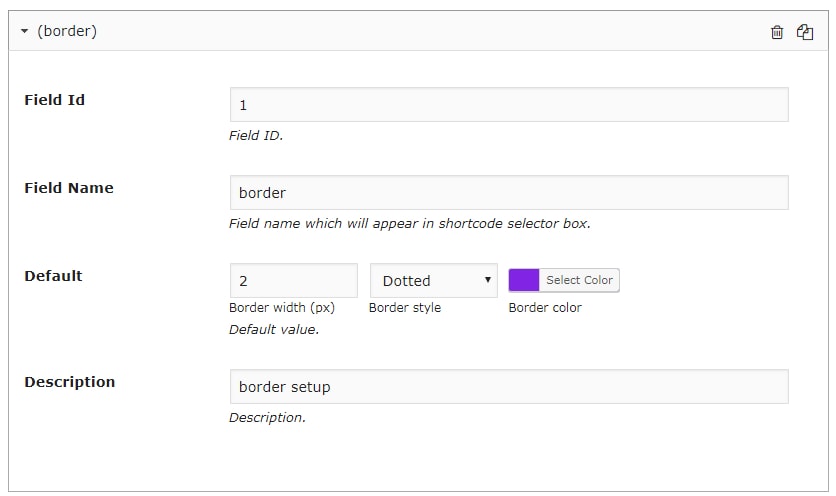
We then click on the imported field to open up its configuration. Here is how it looks and what the settings mean.

For text lovers, here is what the settings mean.
- Field ID – An identifier for this field
- Field Name – A display name for this field
- Default – The default value for this field
- Description – A description that helps to identify this field
As you probably guessed, the default value is where you define the actual setting for the border. What you configure here will be the default setting, and the setting will also be configurable when using the shortcode. For this example, we set up these settings.
And these are the settings we chose for the shortcode details section.
Before we check out the shortcode layout section, we will update the settings for the shortcode details section.
After updating the settings, we click the shortcode layout section to expand it. Here is how it appears.
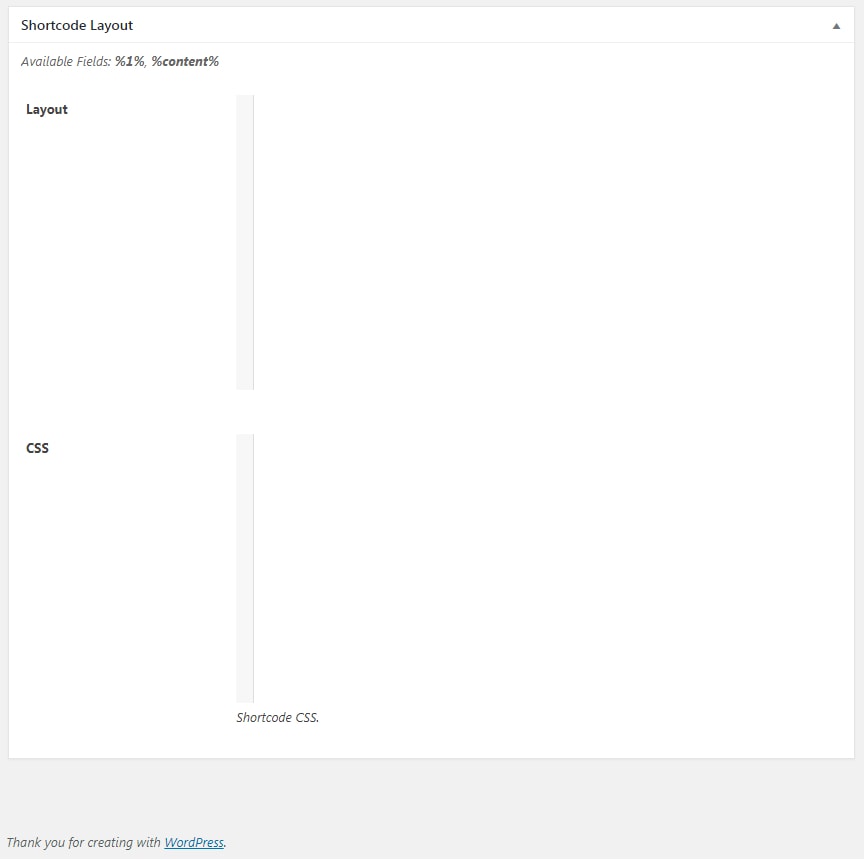
The important thing to notice is the small line that appears above the sections.
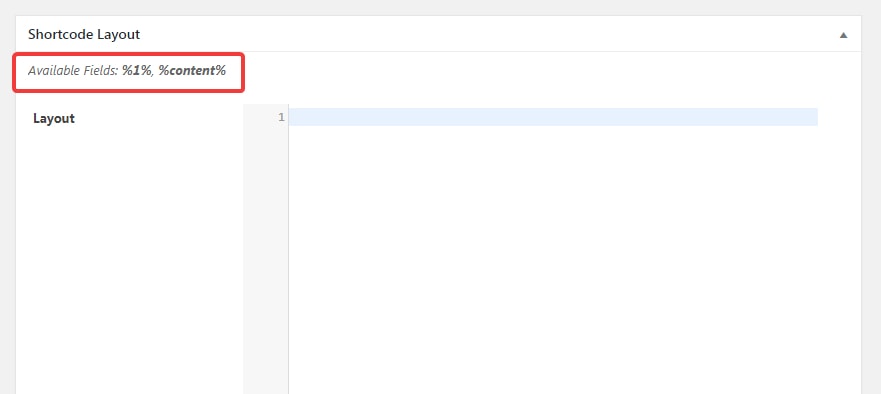
These are the variables that available for use in the shortcode.
The way any shortcode works is that it takes input from you (the user) and merges that input with code to produce the end result. The input that you provide contains the variables that are responsible for the output.
Since we are creating our own shortcode, we will create the code ourselves with the variables.
If you understood the concept above, then you will also understand that you will at least have 2 variables, even when you create the simplest shortcode.
One variable will obviously come from the fields that you add to the shortcode, while the other will represent the content that will be used in the shortcode.
And that is exactly what we have in our example. The ‘1’ in %1% is the field ID of the border that we added earlier, while the %content% represents the content that will be used in the shortcode.

Before we write the code for the shortcode, we must remind you that you will need to understand basics of HTML to write this content. If you don’t, then you might not understand this section at all.
To use the shortcode, we wrote the following code in the layout window.
<div class="wps-border-wrap" style="border: %1%";>
<p>%content%</p>
</div>
Here is how it looked on the screen.

Let us try to explain the code in the easiest way possible.
The div represents a division. It is a common HTML practice to divide a single page into many divs.
The style property is where we use our variable. If you observe the code, we set the border property to %1%, which is the ID of the border property. This allows the border to be changed dynamically in the shortcode by the user.
Then we use the %content% variable to represent that the content will be part of this div.
The CSS portion is optional, and for this example, we will keep it empty.
Now that we’ve configured our shortcode, it’s time to save our settings and check if the shortcode actually works. So save your settings and open up a page on your website.
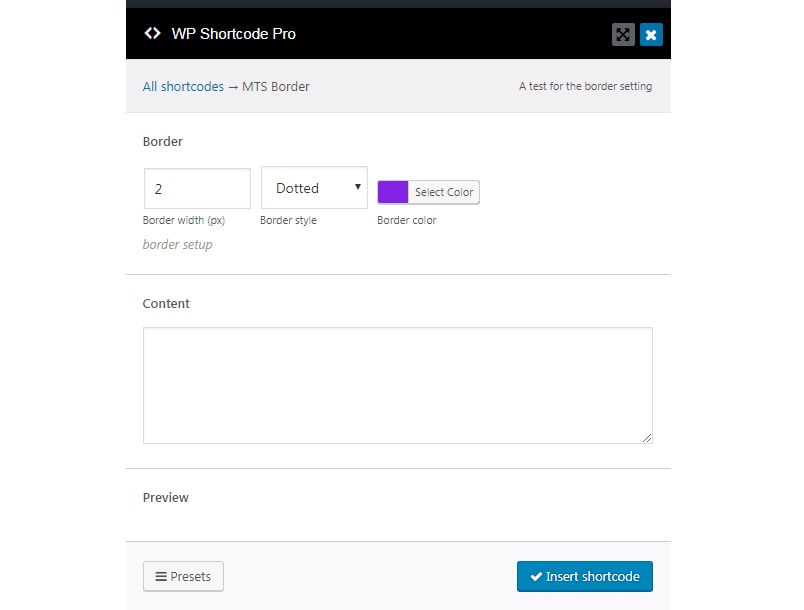
Open up WP Shortcode Pro and search for ‘MTS Border’, which is the name of the shortcode.
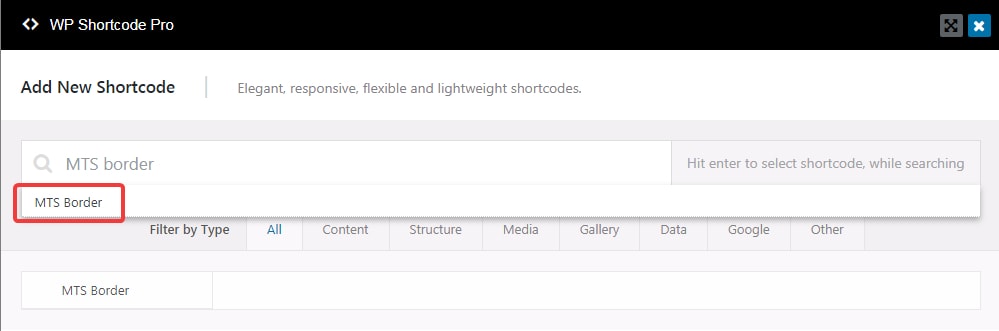
The settings for the shortcode will appear. If you notice, they will look familiar, as they are the same settings that we set up in the shortcode creator.
Now let us test out if the shortcode actually works. We do that by posting some content in the ‘content’ field. Here are the results.
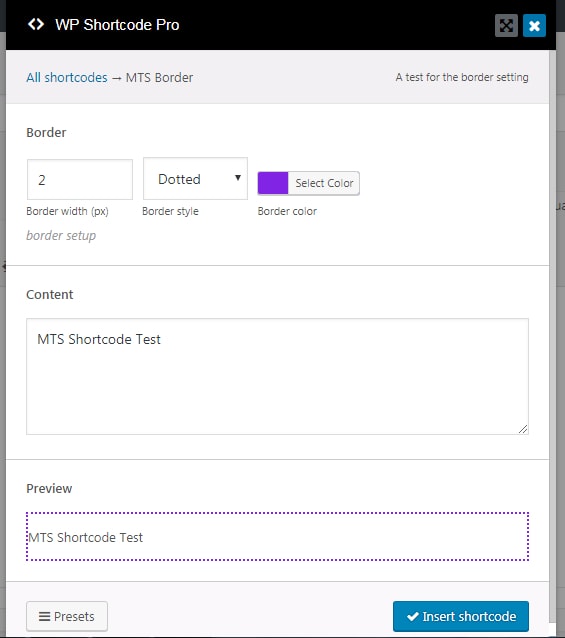
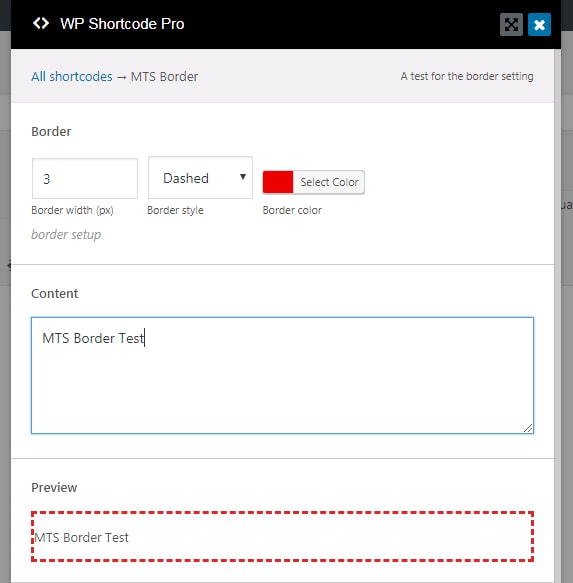
Voila! The shortcode that we just created works perfectly. And not only that, but you can also configure the various settings to create unlimited borders. Here is another example.
Overriding Default Shortcodes
Using WP Shortcode Pro, you can also override the behaviour of the default shortcodes and customize it to your liking.
The process is very similar to creating a new shortcode, so we won’t explain it a lot of detail.
To override a shortcode, navigate to WP Shortcode Pro -> Custom Shortcode
On the next page, click ‘Add new’.

The shortcode creator will open. Here, you have to pay attention to the first 2 fields.
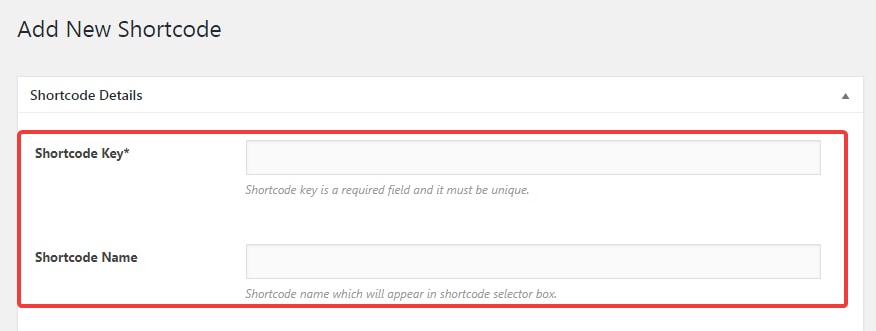
- Shortcode Key
- Shortcode Name
It’s important that you choose a shortcode key which is the same as the original shortcode, without the prefix.
To find the key of the shortcode, you can insert the shortcode you want to override in a new/page post. For example, we inserted the ‘Frame’ shortcode in a new page. Here is the key of the ‘Frame’ Shortcode.
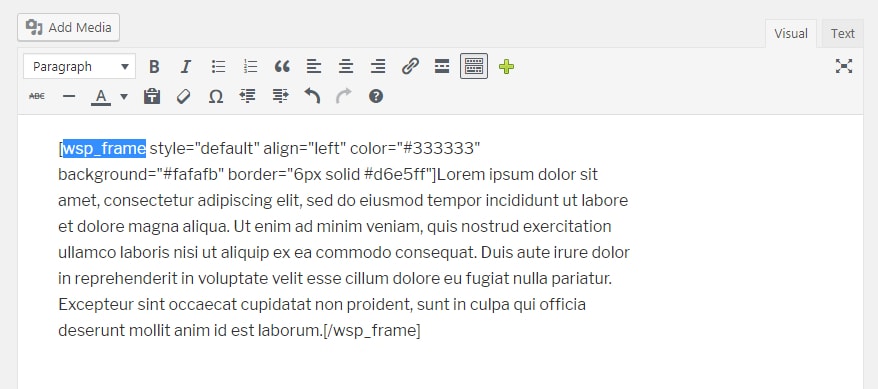
The key is ‘wsp_frame’, but we have to use it without the prefix. In that case, the key for the Frame shortcode is ‘frame’
So to override the frame shortcode, we would use the key ‘frame’ in the shortcode creator.
The shortcode name does not have to be the same. You can choose any name you like, or use the same name. Here is an image with both the shortcode key and name filled.

The rest of the process is the same. Insert any fields you like and customize their behavior by writing the appropriate code. Save the shortcode to have the new shortcode replace the old one.
Conclusion
That’s all the information that you need to create a shortcode using WP Shortcode Pro’s powerful shortcode creation feature. We tried to keep this tutorial as simple as possible, but if you have questions about how to go about creating your own shortcode, feel free to contact us, or open a support ticket.